
Step 1: Gather your supplies...You will need 2 12X12 scrapbook paper storage totes (found at your local craft supply store), aluminum foil, parchment paper, clear packing tape, duct tape

You will start with only using one tote...cover the inside bottom of the tote completely with aluminum foil (covering completely the bottom and sides of the tote. I used clear packing tape to adhere the aluminum foil (you want to make sure the light has nowhere to go but up). Then on the underside of the lid of the tote, cut a piece of parchment paper big enough to cover it and I once again used the packing tape to adhere it. The purpose of this is so that you can't see what light source you use to light up your table, but it is thin enough to let the light escape through it.

So you have the bottom of your first tote covered with aluminum foil and the underside of the lid is covered with parchment paper. This picture shows using a battery operated light (Plus side to this is there is not cords to deal with, Con is that batteries are expensive). I would suggest using more than one battery operated light or a bigger one, so that it lets off more light.

This shows using a rope light coiled inside. I cut a hole in the back of the tote to run the cord through so it could plug in and adhered the rope light with packing tape so it wouldn't move. This gives off alot more light.

Then I used duct tape to tape the second 12X12 tote on top of the finished product. This allowed me to have a lid that I could use to store materials in and so items would have a "lip" so they won't slide off during play. There is nothing done with the 2nd tote except for having it taped to the other finished tote. You could eliminate the 2nd tote and still use only one for a light box.
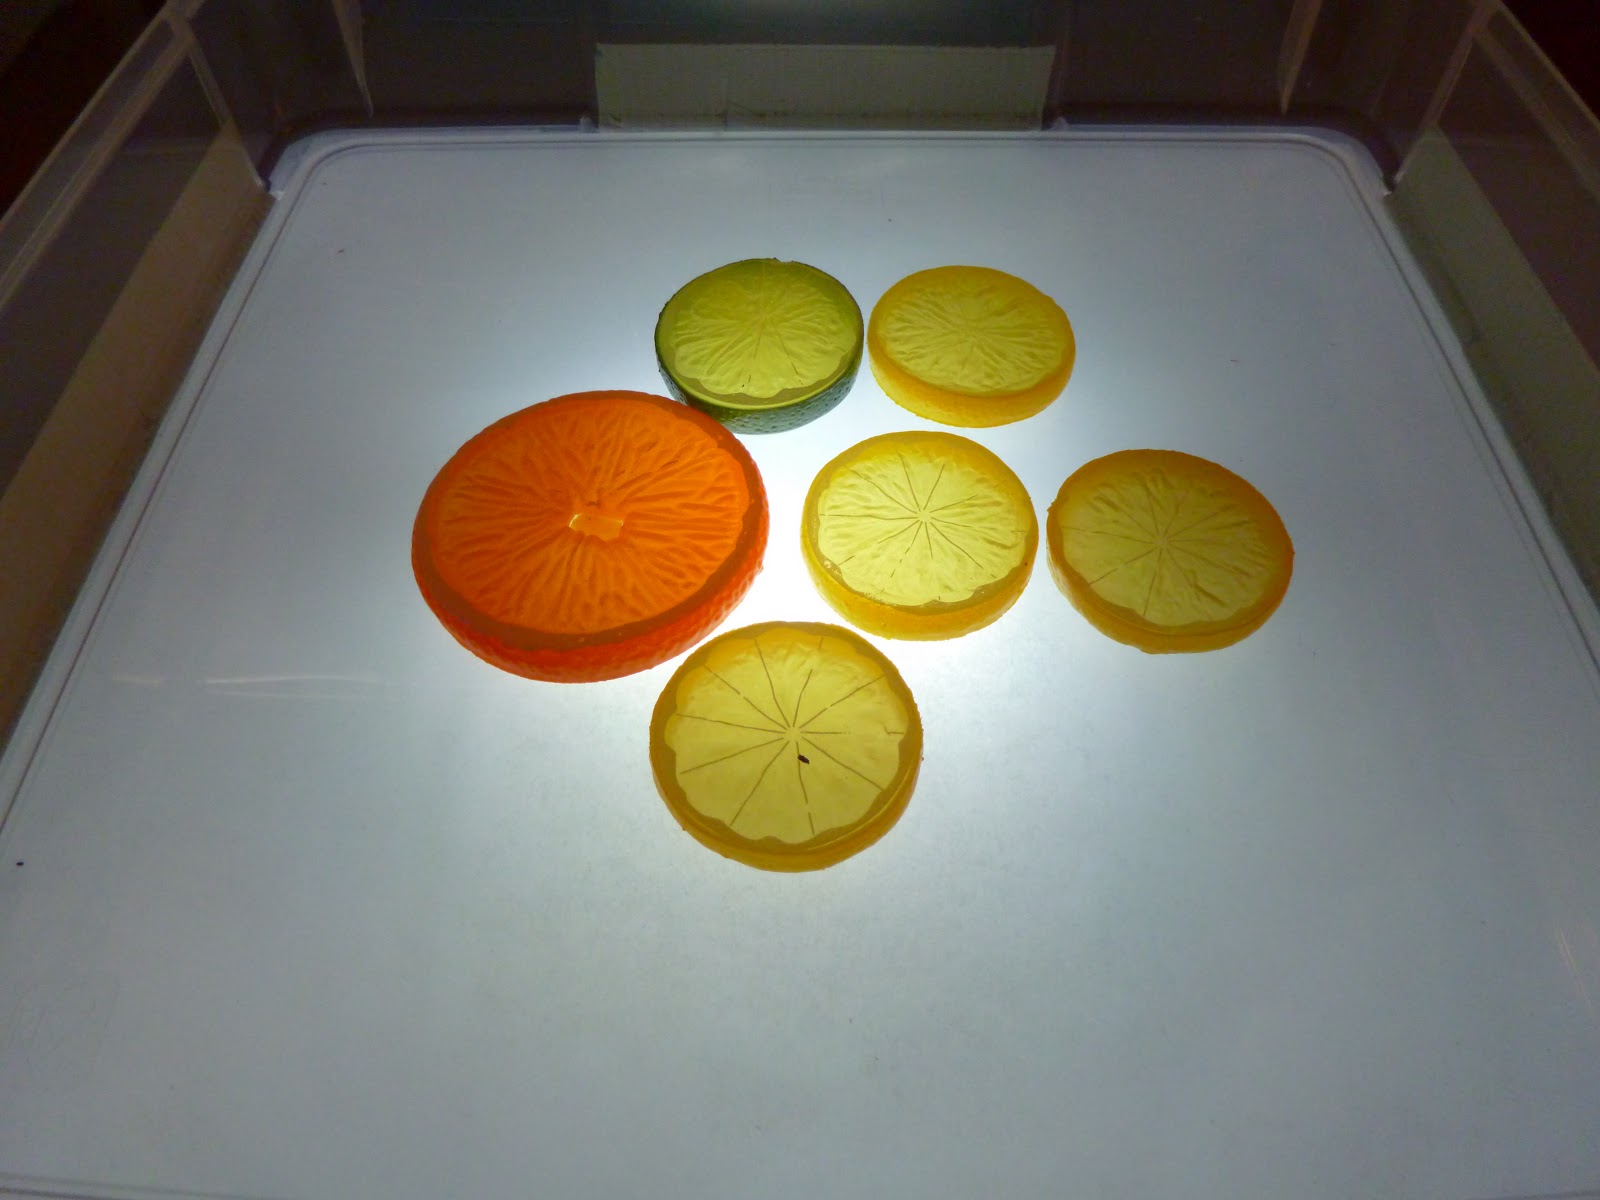
Then you add items to explore with light. I found these plastic fruit slices (oranges, lemons and limes) at a local craft store. Other items than can be used, plastic colored shot glasses, colored flat marbles (I found square ones in a wedding aisle in the local craft store), anything transparent and that has color will work. I will post pictures of the different items we use to give you more ideas.
Thanks sandy! I have been working on this. Great to see you did. I will get it done.
ReplyDeleteNice post. Well what can I say is that these is an interesting and very informative topic on paper packing tape
ReplyDelete